Lara Standee, Pulleys & Bronze Coins
Lara Croft: 30 Years On | Tomb Raider 30
We’ve had another busy month in the Workshop, preparing for Assemble and Tomb Raider 30 events! The Events team approached us in the Workshop after a successful launch of the Lara Croft: 30 Years On exhibition at Pickford’s House upon being asked ‘Where’s your Lara merch?!’ After a few discussions, we began work on prototyping a Lara Croft at Pickford’s House Standee.
Here’s a look at how we made it:

Standee
During the set up of Lara Croft: 30 Years On, we designed and made a welcoming sign for the exhibition. The sign took visual queues from early Tomb Raider game covers, emulating similar fonts. The sign is going to be autographed by relevant Tomb Raider names and sold by auction. The design work here provided an example to carry through when working on the standee.

The idea for a mini standee came out of a group discussion. The concept was a smaller item that could be carried home, would resemble Lara and hopefully pay homage to the exhibition at Pickford’s House. Eventually, we settled on a mini-standee, akin to a shop display or cinema advert. We also wanted a design where the parts could be popped out and then constructed.
The Museums had a series of promotional images of a Lara cosplayer taken. We used those as the basis of our design. We chose an image of Lara in front of the Pickford’s House door. We converted this photograph in Illustrator software, focussing on highlighting details and being mindful of how this would translate when laser etched into wood. The texture of laser etched wood felt very apt for a Tomb Raider creation!


A key element was perfecting the perforated laser cut to enable the cut out functionality; cut enough so it can easily pop out, but not fall out unintentionally. After many trials and iterations, we designed the first prototype and printed a copy. This version was later developed, but having a physical copy helped us decide how to take the project forward. We decided we liked the housing for the pop-out pieces and wanted to include this with the standee, which also stopped there being any waste, every part usable in the standee. We also wanted to design the standee so it could be left ‘un-popped’ if desired. This led to an adapted stand system with steps and a redesign of the board with multiple titles and logos. We likened the design to an action figure’s packaging, bubble on card.


We committed to an edition of 100, so we aimed to balance machine time with a high quality output. We optimised the file handling and laser programming to reduce etching and cutting time. Each of the 100 standees are finished with a number stamped by hand.

Statue
‘Dr Alex Rock, director of commercial and operations at Derby Museums, said: “Lara Croft is one of Derby’s most famous exports – made in Derby and celebrated worldwide.
BBC: Nine-foot Lara Croft statue returns to city
Perfectly timed, ahead of Tomb Raider Day, Saturday 24th, the Museum of Making has temporarily become home to the nine-foot statue of Lara Croft. The statue was recently successfully crowd funded and is going to live in Derby’s Market Hall. Go and see the statue, then head to Pickford’s House to see the exhibition and pick up your limited 1st edition Lara Standee!

Pulleys | Volunteer Story
A core element of our Workshop is our adept and dedicated Volunteer team. We see them every week and work with them on a range of projects. Towards the end of 2024, the Workshop was approached to collaborate with the Learning Team to develop an interactive, to use with children, that focussed on weight and mechanics. Jim, one of our Volunteers, stepped up to the challenge and he worked on this over a number of weeks during his volunteer sessions. We were eager for Jim to recount his approach and processes to accomplish the Pulleys project.

Jim White:
Volunteer | Museum of Making Workshop
‘Mechanical Advantage – Pulleys
The Education Team planned to hold sessions with students to explore the mechanics of pulleys and they approached the Workshop to design and manufacture the necessary equipment.
I was tasked with designing the equipment. I have a structured approach to designing and use what is known as ‘Requirements Capture’. This is a structured framework used to collect, organize and document the stakeholders needs and project expectations before execution begins.

One of the key stakeholders is the Education Team (Customer) and I needed to determine what they wanted/ needed (Requirements). To help me capture the Requirements I came up with an initial list of questions which included:
- Is there funding available and, if so, how much?
- When is the equipment needed by?
- What is the main function and learning goals of the equipment?
- What is the age range of the students?
- What heights are the students?
- Where will the equipment be used?
- How many sets of equipment are needed?
As the designer I had my own considerations, which included:
- Safety, such as:
- Dropped load
- Crushed fingers
- Rope burn
- Equipment toppling over
- Functionality
- To be versatile for different experiments
- Single and multiple pulleys
- The load
- Strength/ rigidity – assume it could be ‘overloaded’
- Height adjustable to suit different student heights
- What will the equipment be mounted on and how attached?
- To be easily assembled and dismantled
- Portability and storage
- Load/ Weight
- 1kg cloth sandbags – could be made in the workshop
- Manufacture
- ‘Frame’ material – Do we have existing wood?
- Do we make the pulleys? Or, do we buy as it is relatively cheap and we have limited time
- What cord? – 4 mm parachute cord


The Solution
The sketches show the design that was finally selected. It’s a simple wooden frame where the top bar is attached to the uprights with bolts and wing nuts and is height adjustable to suit different students. The frame is secured to the table with G clamps. The pulley(s) are hung from the top bar on loops of cord.
The load consisted of 1kg sandbags, which can be easily tied to the main cord and would most likely not cause damage if dropped. These were also made in the Workshop.
In addition to being able to experiment with pulleys, adjustable levers were also made which when used with the frame and sandbags further increased the versatility of the equipment.
Six sets of frames were made and the Education Team have made good use of them and have been proven to be very successful. Another task successfully completed by the Workshop team of which I am proud to be part of.


A little about me
I started volunteering in the Museum’s Workshop about three years ago after finding the Workshop on a visit to the Museum. I had retired the previous year after working as an engineer for 45 years in a variety of roles but with a bias towards manufacturing. I worked at Rolls-Royce for 33 years, the last 25 years as a designer.
I enjoy the varied tasks I am involved with, such as these pulley experiments. I am learning new skills and meeting a wide variety of different people.
I would recommend becoming a volunteer, you can share your skills and learn new ones.’

We regularly welcome Jim and his positive energy to the space so it was great to get him to contribute to the blog. Jim has recently been assisting in important Workshop organisation, creating bespoke storage solutions for a range of tools, designing stands for equipment and helping us rearrange our metalwork tooling. We commonly refer to his extensive knowledge and experience as an engineer; ‘What does this do Jim?’
Coins | Unearthed Interactive
We are continuing our breakdown of the Workshop Technician-made Unearthed interactives.
You can see a walkthrough of the Interactives here.
Here’s a look at how we made the Bronze Coins:

The new exhibition layout in Unearthed was to feature a series of coins and the purpose of this interactive was to allow visitors to feel the surface of an enlarged version of the coin on display behind the cabinet glass.
The originals were scanned by the Archaeology team using Photogrammetry and recreated as a 3D Model. These models were 3D printed in resin. We used these as patterns for Bronze casting in sand moulds.


In a previous blog, we looked at our Bronze casting process which was similar here with the coins. A notable difference was the quantity of bronze needed to successfully fill the moulds. The larger coins needed approximately 4 kilos to be poured in one go – the process won’t allow for ‘top-ups’ and it took a few attempts to get the finish we wanted. Failed attempts give us not just a deeper understanding of materials and their limitations… but also a nice selection of objects to show off to visitors who pop into the Workshop! If you’re in the Museum of Making, do come by to see our collection of ‘failed attempts’.
After the casting, the coins were cleaned and polished, carefully, with a Dremel with a wire brush tool. Any inconsistencies, especially on the underside after cutting off the runners and risers, were filed flat.


In this casting, we considered the final mounting early in their development and included a system into the shapes. We extended the depth of the coin and gave them a staged lip around the bottom. The lip would sit, hidden, underneath layers of plywood to remain secure and clean in the mount. The plywood mounts were designed to align with the depths of the bronze and built in multiple layers. The mounts were drawn digitally and cut on the CNC machine. These layers allowed the coin to be mounted and fixed to the bottom layer then sandwiched with a layer above, over the lip. The finishing touch was a layer of oil and a gentle sand.


Some of the finished coins mounted, in-situ as part of the Unearthed exhibition:

Maker Hours
Workshop Maker Opening Times:
Tuesday to Friday | 10am – 1pm | 1:30pm – 4:30pm
Second Saturday of every month | 10am – 1pm | 1:30pm – 4:30pm
Upcoming Saturdays:
November 14th
December 12th
January 9th
Studio Maker Opening Times:
Friday | 10am – 1pm
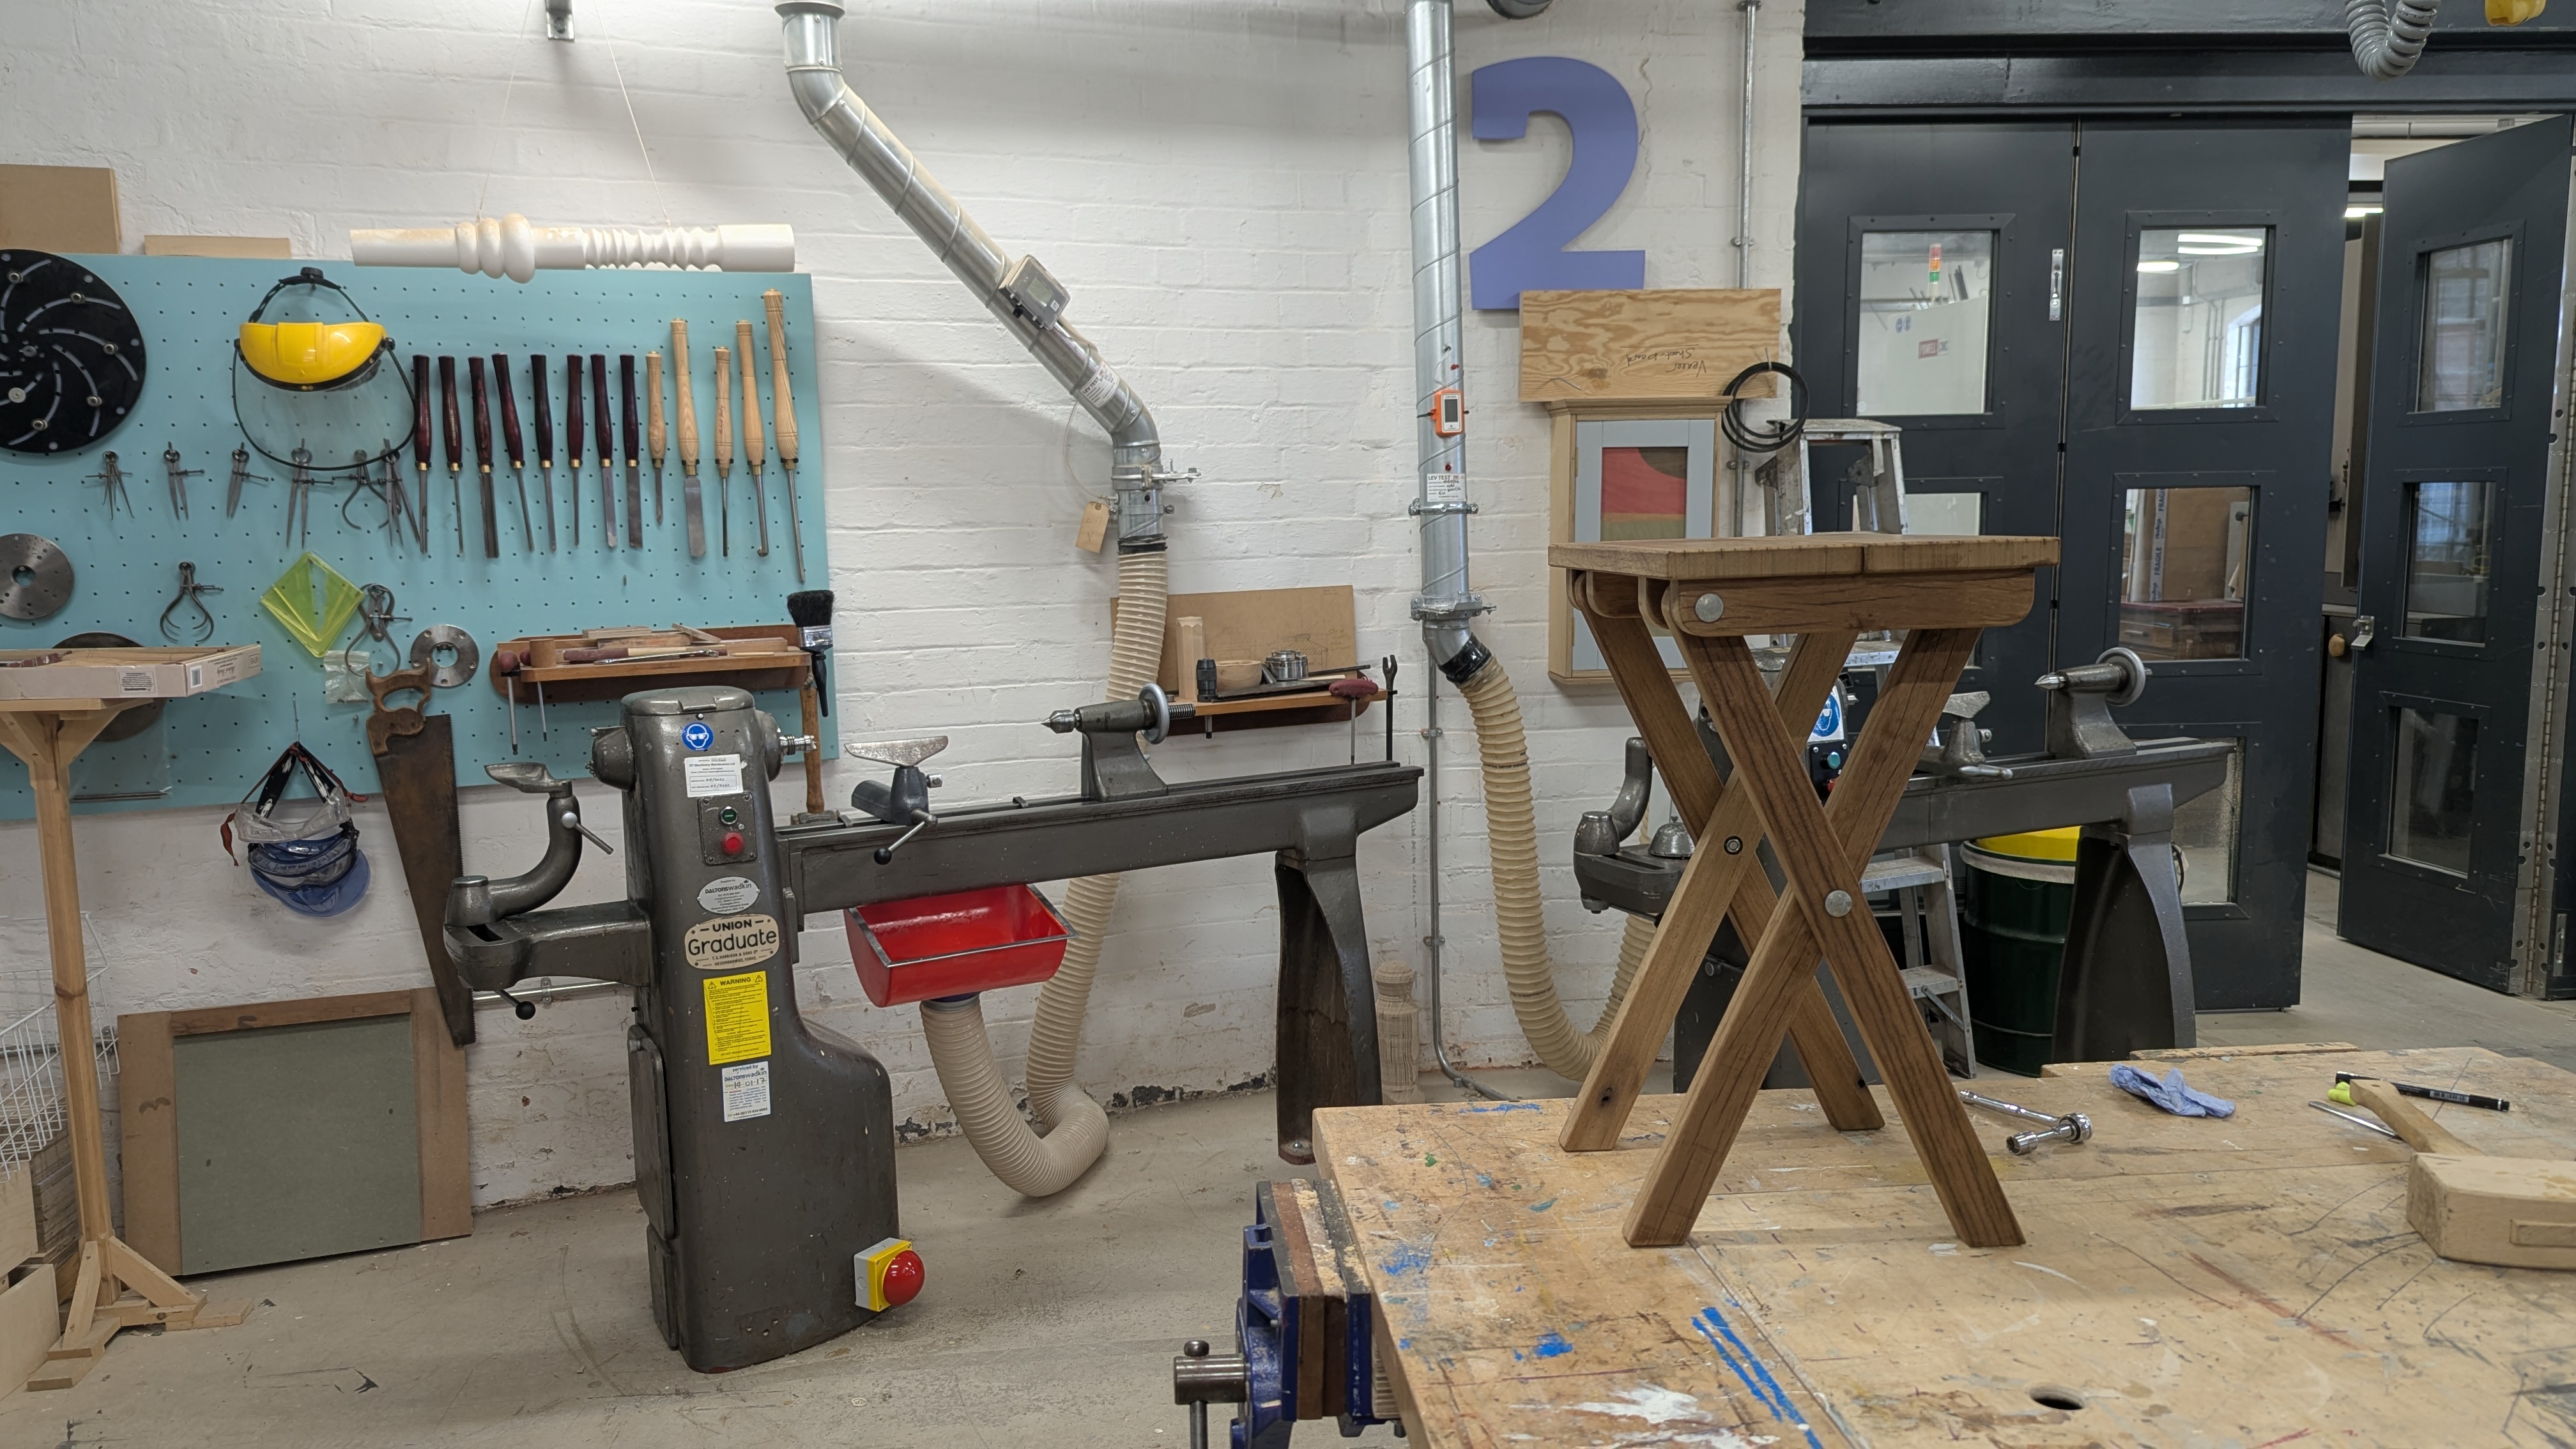
Want to find out more about the Workshop?
Public Workshop at The Museum of Making
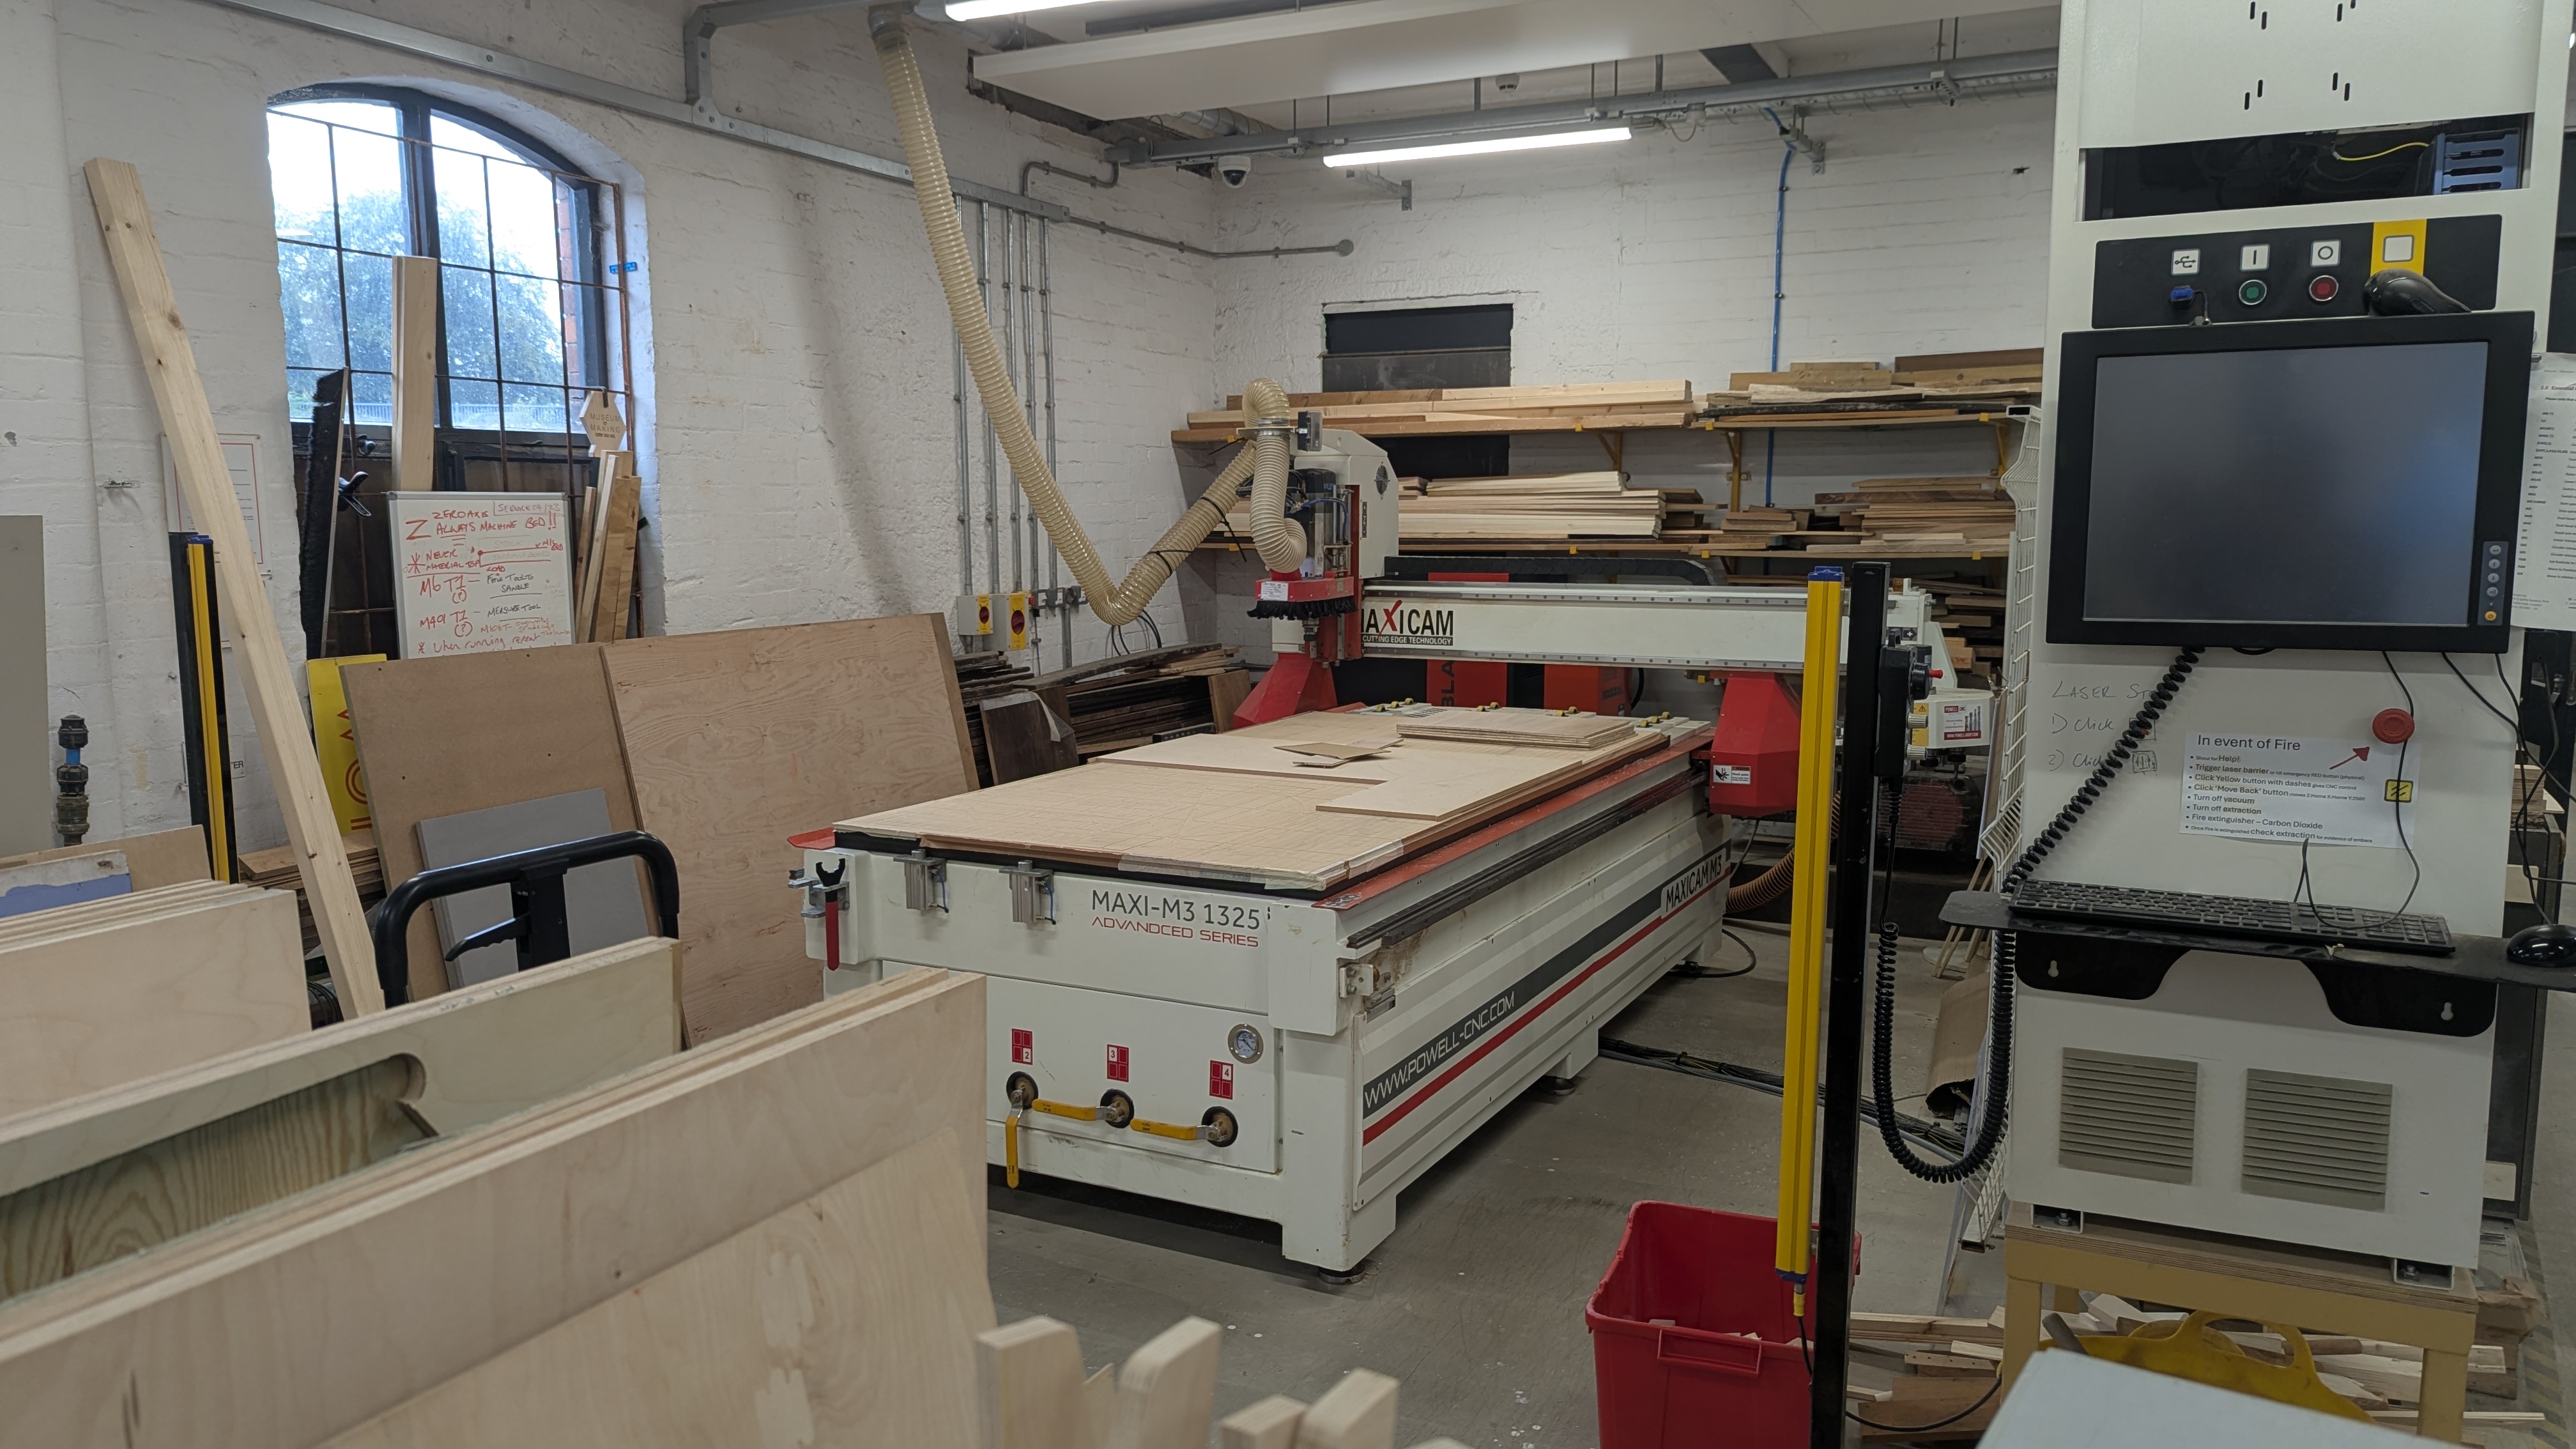
Interested in using the Workshop?
Become a Workshop Maker
Upcoming Courses:
- Traditional Upholstery Weekend Workshop | 14th & 15th November
- Lino-Printed Lampshade Workshop | 22nd November
- Canvas Making for Beginners Workshop | 25th November
Dates coming soon:
- Make and use a Drop Spindle
- Basics of CNC Machining and Computer-Aided Programming: Weekend course
Along with the blog, subscribe to our Workshop Newsletter!
The newsletter is a shorter version of our blog in your inbox that will keep you updated.